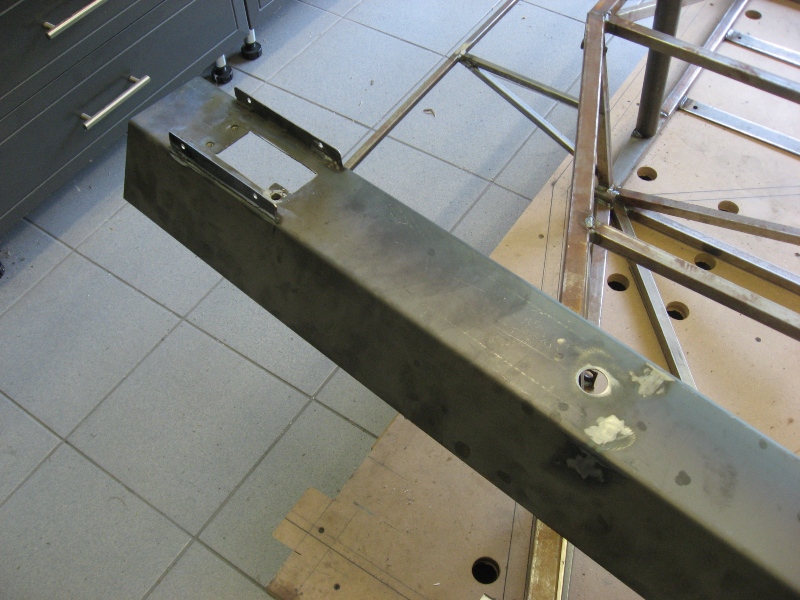
| Aug 27, 2010 - This is a picture of the tunnel that runs down the middle of the car. The square hole at the left is for the parking brake and the small round hole at the right is for the gear shift lever. |
 |
 |
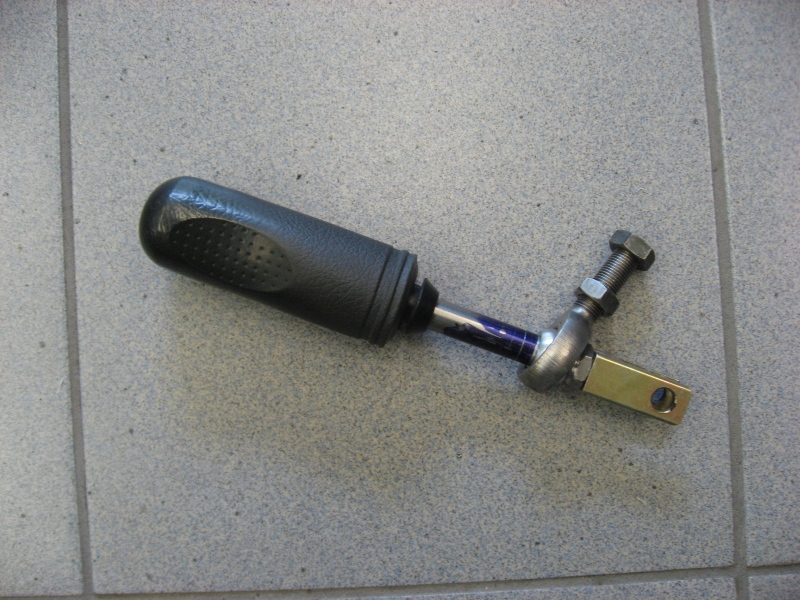
I reworked the original Swift shift lever to shorten the throw to about 2 inches. The rod end allows for adjustment and the clevis at the bottom connects to the linkage that runs to the transmission. |
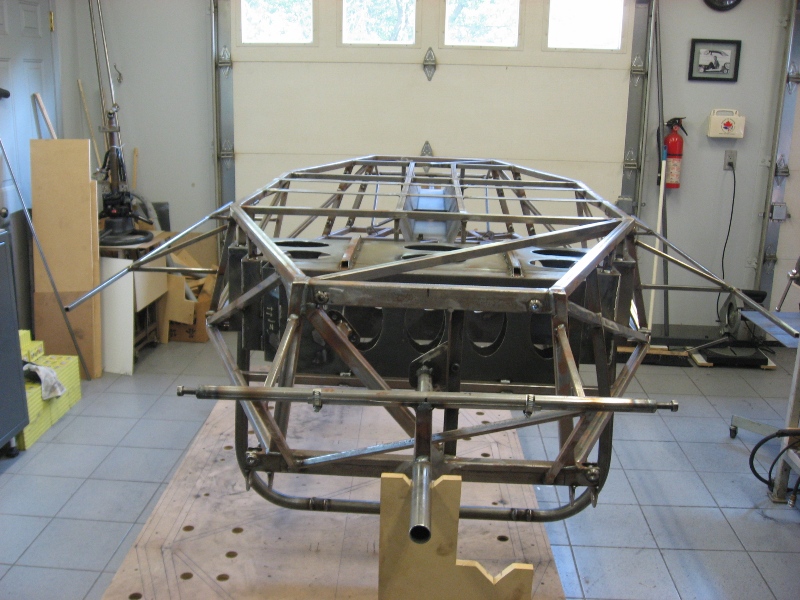
| The roll bar is 1-1/2" diameter, 1/8"wall tubing. It's heavy but I wanted to stay within SCCA specs in case the car ever goes to the track. |
 |
 |
Sept 2, 2010 - Welding the roll bar and tunnel. That rotisserie sure has come in handy. |
| Sept 4, 2010 - Motor and transmission installed in order to fabricate the last motor mount. Unbelievably, the clearance between the motor and the chassis is 1/8" - exactly as calculated. |
 |
 |
Sept 5, 2010 - Checking to make sure tha battery box didn't warp from welding and that the batteries still fit. |
| Sept 30, 2010 - I designed brake, clutch and gas pedals that were going to be complicated to cut out but fortunately I found a local shop that does water-jet cutting at a very reasonable price. Here they are ready for tig welding. |
 |
 |
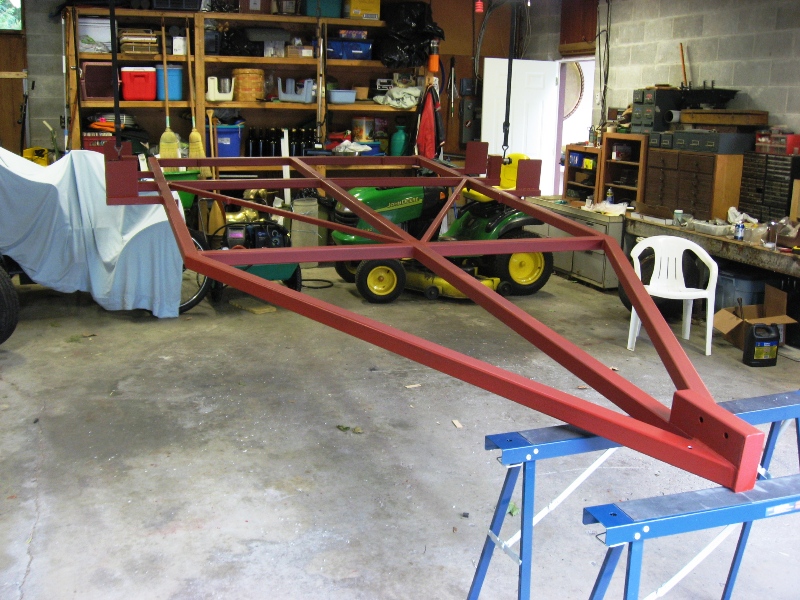
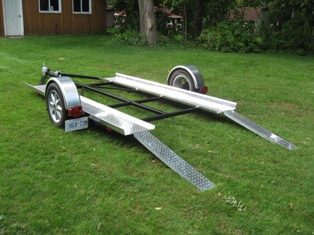
Sept 18, 2010 - In the meantime, I figured I needed a nice trailer to haul my nice car. I had to build in in my garage because the trailer is too big to fit in the shop. |
Picked up some aluminum wheels at the wreckers. They cleaned up beautifully using EasyOff Oven Cleaner. Had some 3/16" aluminum tread plate bent for the runners and made a couple of ramps from the surplus tread plate.
|
 |
 |
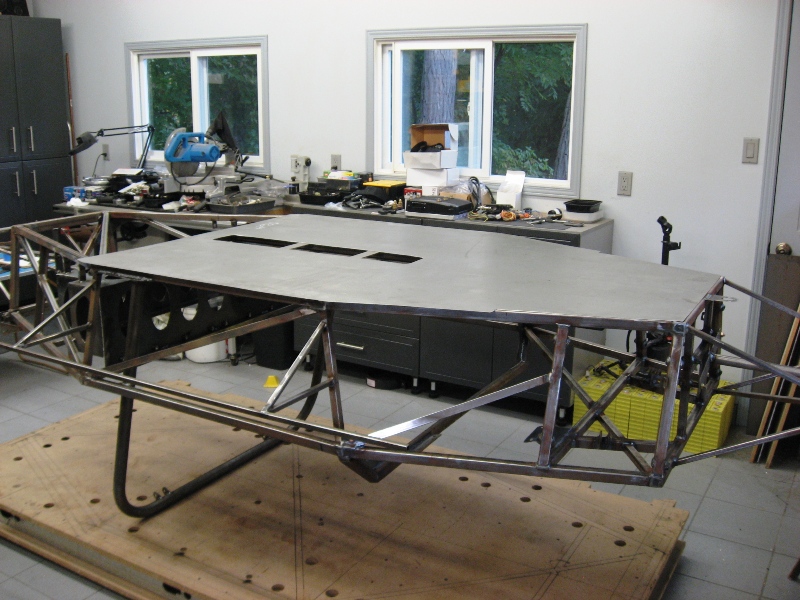
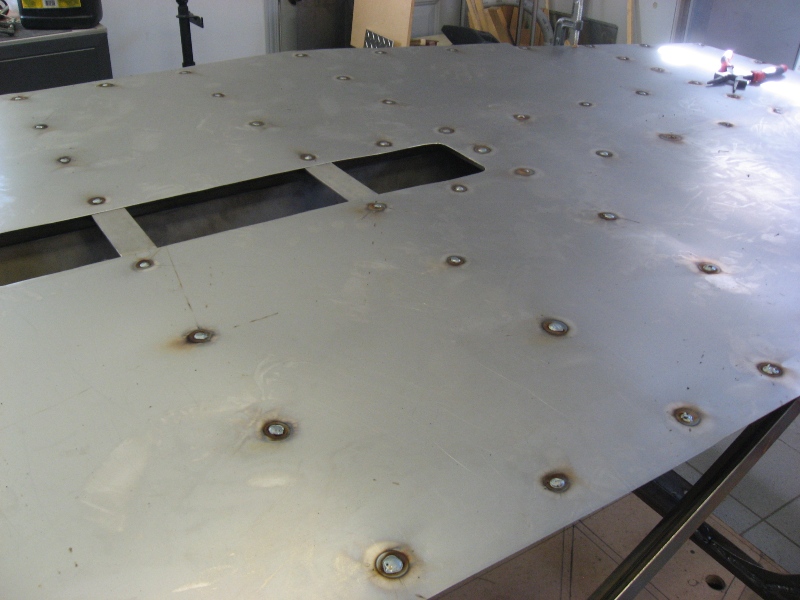
Oct 6, 2010 - Time to put a floor on the car. I used 16 ga steel plate. The three square holes are for access to the shift linkage and parking brake. |
| I decided to plug weld the floor rather than screw it on. I didn't like the idea to drilling holes in the frame. Much as I tried to prevent it, I did get a little distortion of the pan from the welding. I read that there are some adhesives available that could be used to "glue" the floor on but I'm afraid I'm not that adventurous. |
 |
 |
Got the pedals back from powder coating. I'm really pleased with how they turned out. One master cylinder is for the clutch and the other two are for the front and rear brakes. There is a balance bar in the brake pedal that allows adjustment for front/rear bias. |
Previous Page ----- Next Page