"A man must keep a little back shop
where he can be himself without reserve.
In solitude alone can he know true freedom."
-Michel De Montaigne 1588
January to December 2011
Jan 12, 2011 - I wanted to put a protective cover over the controller and battery pack just in case I drop something across the terminals and cause a short circuit. I used 1/4" lexan so you could see the components and rather than just cutting some holes for ventilation, I had the ZOT2 logo waterjet cut into the top.
Jan 23, 2011 - Next step is to start fitting the bodywork on the chassis. I'm really not looking forward to this part. Fiberglassing is not one of my favourite things to do.
Apr 3, 2011 - Finally!
I had hoped to test drive before the snow came but I had to wait for some of the electrical parts to come in. By the time they came, it had snowed so I had to wait until Spring. The sound you hear while accelerating is wheel spin. The torque from the drive is phenomenal. Nothing like a gas engine. I am more than pleased with the performance. And nothing broke!
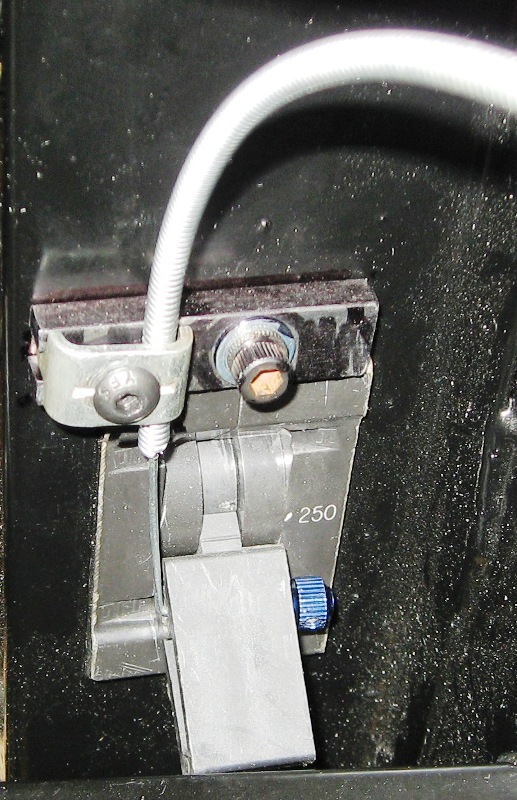
May 14, 2011 - Installed remote trip/reset cable for the main power breaker using an old fashioned choke cable. This lets me shut down all power to the system without having to raise the rear body panel.
May 14, 2011 - The roll bar braces need to go through holes in the rear body panel. To accurately locate the the holes, I used a laser pointer. I raised the body panel, aimed the laser down the center line of the braces, lowered the panel and had a nice red spot right where I need to cut the hole. (Click on picture to see the setup).
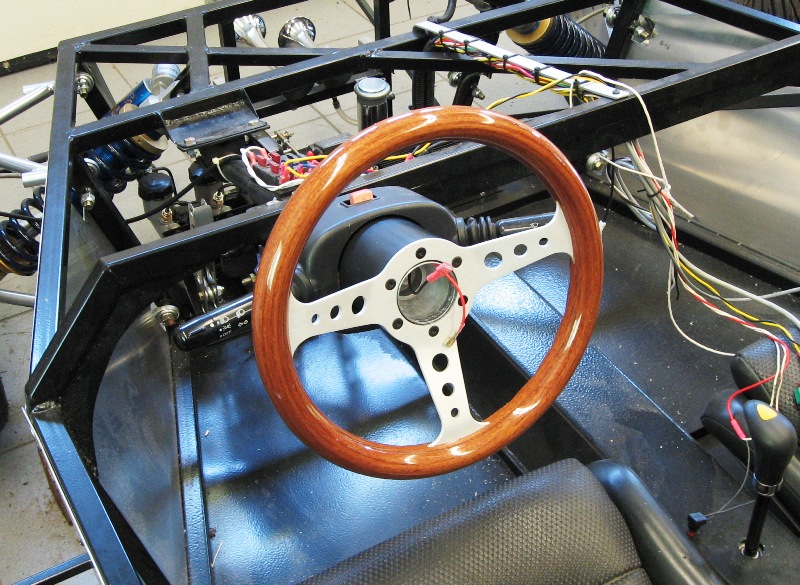
June 1, 2011 - The original Suzuki steering wheel was a bit big for this small car and interfered with leg movement. It wasn't practical to raise it up so I ordered a nice wood grain, smaller diameter wheel. The wheel came with a plastic boot that was too short to cover the steering shaft so I machined a new one out of a piece of 3 inch ABS drain pipe.
June 17, 2011 - I needed some small brackets to hold my brake/turn/clearance lights so I designed them up on AutoCAD and had then water jet cut out of 1/8" aluminum. (Click on picture to see them installed)
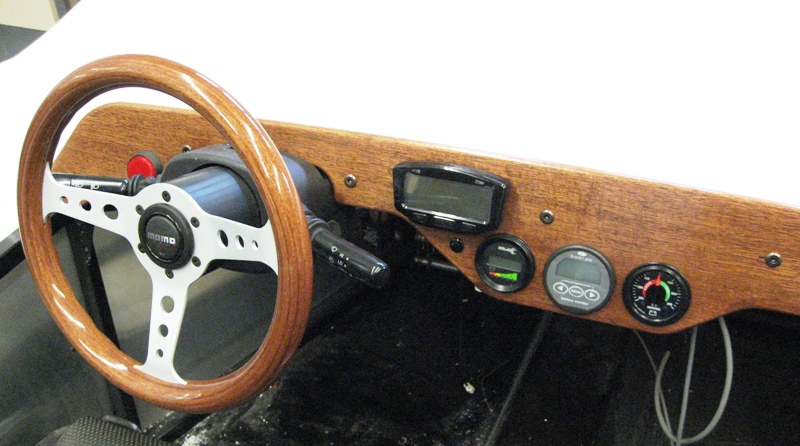
June 25, 2011 - It took quite a few prototypes before I was satisfied with the design of the dash. It had to clear the front bodywork when being raised and clear my knees when getting into and out of the car. I needed to be able to see the instruments around the steering wheel and the instruments needed to clear the chassis behind the dash. Did you know that waterjet is great for cutting wood? (Click on picture to see the final installation)
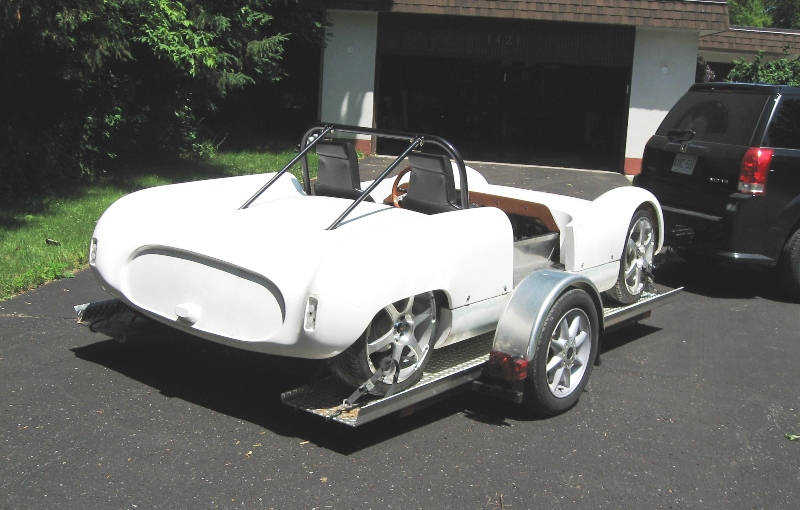
June 30, 2011 - Trailered the car to the local DOT weigh station and had the car weighed. It came in at only 1250 lbs (including the doors that I haven't figured out how to mount yet).
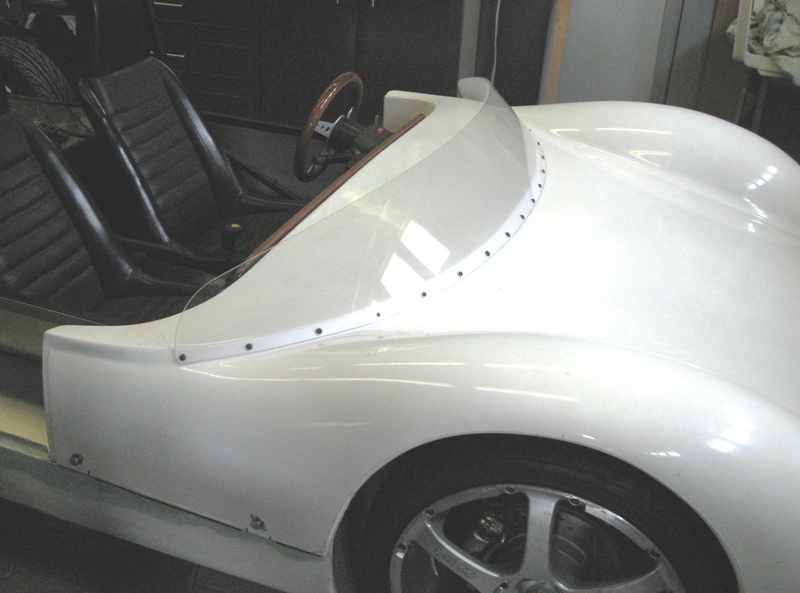
July 7, 2011 - Installed windshield wind deflector today. Waterjet cut from 1/8" polycarbonate. The curve is so gradual that I didn't have to heat it to bend it. (According to Ontario regulations, windshields, if fitted, need to be safety glass. Wind deflectors don't)